Why Stripe
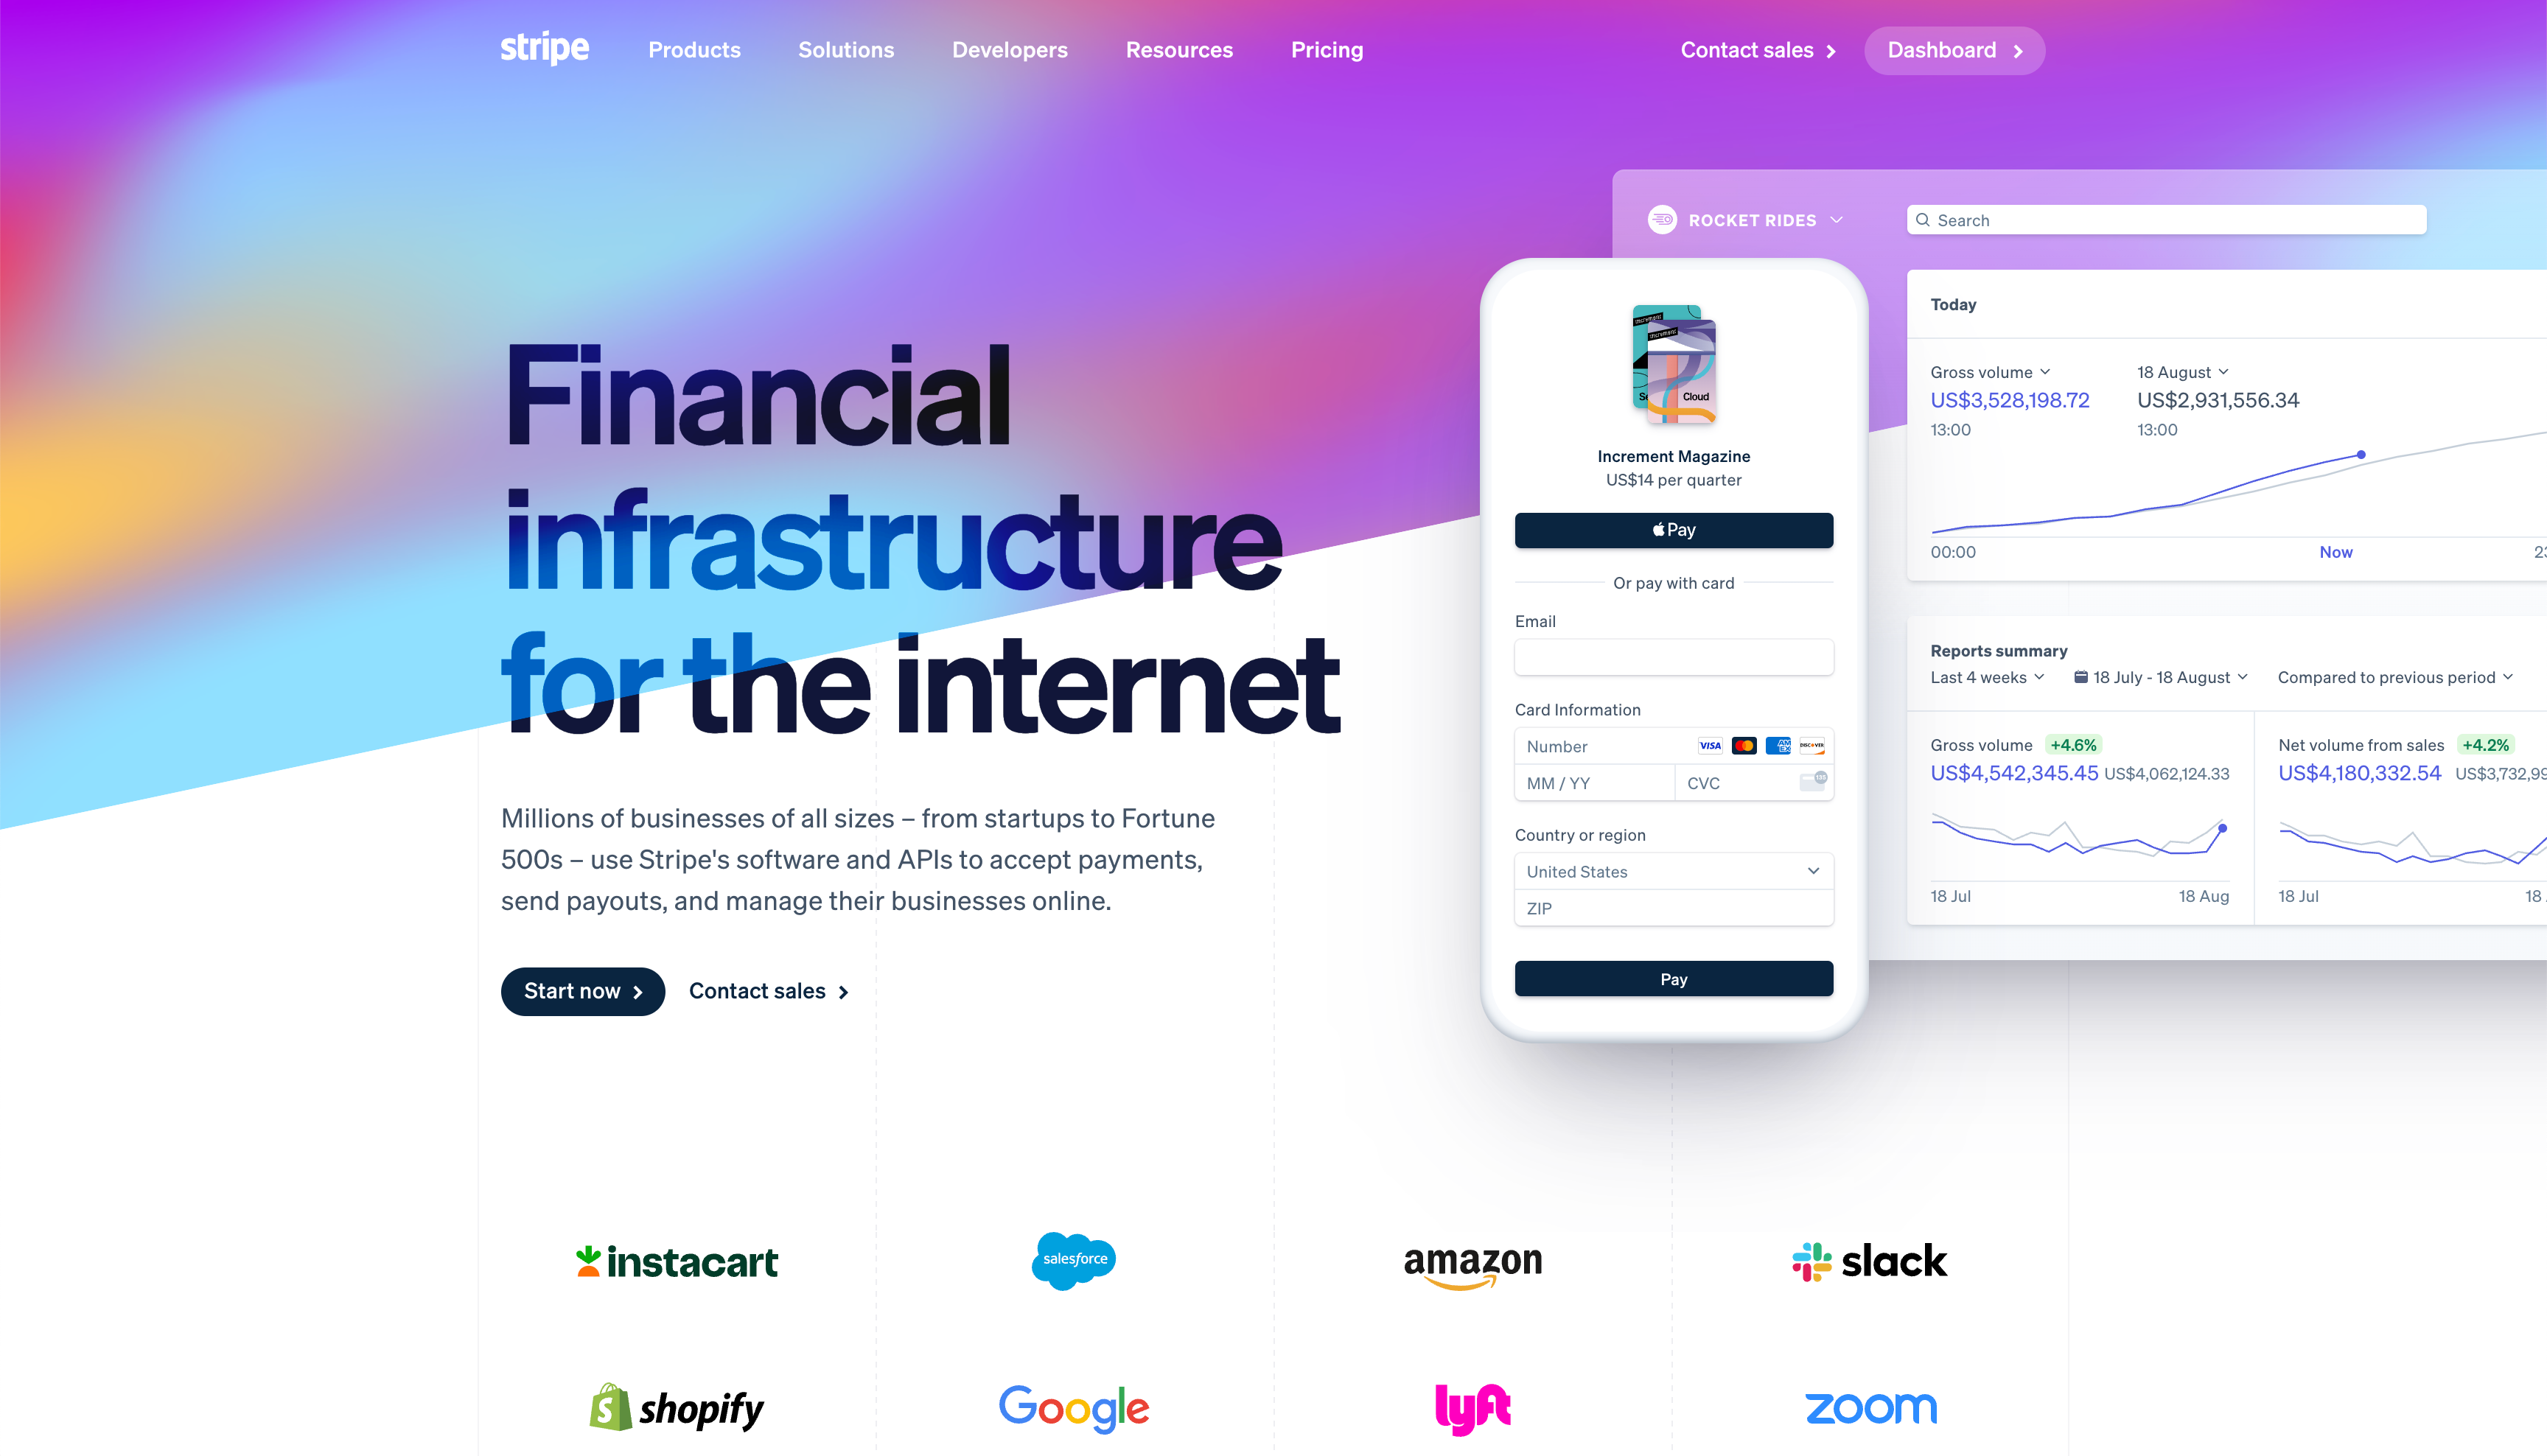
Shoprocket runs payments through Stripe. That means when a customer pays at your checkout, the money flows through your Stripe account, not ours. Stripe holds it, deducts their fee, and pays you on your normal Stripe payout schedule.
Two reasons we did it this way:
- You own the payment relationship. If you ever leave Shoprocket, your Stripe account stays with you. Your historical transactions stay with you. Your payout details, your chargebacks, your customer payment history: all in Stripe, all yours.
- Stripe is the best payments platform for most stores. Broad international coverage, 200+ payment methods, modern API, strong fraud detection (Radar), and the full BNPL stack (Klarna, Afterpay, Affirm) routes through them. It's the reasonable default.
You never need to manually touch Stripe's dashboard unless you want to. Shoprocket manages products, prices, and webhooks for you. The two sides stay in sync automatically.
The setup, in order
1. Create a Stripe account (or use your existing one)
Go to stripe.com and sign up. You'll need:
- Business info (legal name, address, tax ID if you're registered)
- Bank account for payouts (domestic only: a US account for USD payouts, UK for GBP, EU for EUR, etc.)
- A phone number for SMS verification
- Owner / representative details (KYC requirement for fraud prevention)
This takes 10-15 minutes. Stripe approves most accounts instantly; some categories (firearms, CBD, some subscription models) require additional review.
2. Connect Stripe to Shoprocket
In your Shoprocket dashboard: Settings → Payment Methods → Stripe → Connect.
This kicks off a Stripe OAuth flow. You'll be redirected to Stripe, asked to approve Shoprocket accessing your account, and redirected back. We never see your Stripe password; we get a scoped token that lets us create charges, process refunds, and listen for webhook events.
If you already have Stripe connected to other tools (your accounting software, another store), this won't interfere. Multiple tools can connect to the same Stripe account.
3. Enable payment methods in Stripe
In your Stripe dashboard: Settings → Payment methods. You'll see a long list.
Turn on immediately:
- Credit / debit cards (on by default)
- Apple Pay (auto-enabled once you verify your domain; Stripe does this for you via the Shoprocket embed)
- Google Pay (same)
- Link (Stripe's one-click payment, increases conversion, free to enable)
Turn on if relevant to your customer base:
- PayPal (needs a separate PayPal Business account; Stripe handles the integration)
- Klarna, Afterpay, Affirm (BNPL; great for high-AOV categories; see our BNPL guide)
- Crypto (Stripe crypto is expanding; check regional availability)
- Local payment methods (iDEAL in Netherlands, Bancontact in Belgium, BLIK in Poland, Sofort/SEPA debit in Germany)
Every method you enable here shows up automatically at your Shoprocket checkout. No code, no re-saving products.
4. Configure your statement descriptor
In Stripe Settings → Public details: set the statement descriptor (what appears on your customer's credit card statement, e.g. "ACME STORE"). This is the single biggest lever against "friendly fraud" chargebacks: shoppers who forget they bought something and dispute the charge.
Make it recognisable. Avoid generic names like "ECOMMERCE" or your platform's name. Use your actual brand name.
5. Enable Stripe Radar
Radar is Stripe's fraud detection. It's on by default for all accounts, but the settings are worth reviewing.
In Radar → Rules: the default rules block obvious fraud (stolen cards, velocity attacks). Add rules specific to your category as you grow:
- Block orders where billing and shipping countries differ by more than a region
- Flag orders over a specific amount for manual review
- Block IPs from known high-fraud regions
Radar is free up to $25k/month in volume, then $0.05 per transaction. Worth every cent above that threshold.
6. Leave Stripe Tax off
Shoprocket has its own automatic tax calculation built in. Configure your tax registrations and rates in your Shoprocket dashboard, not in Stripe.
Do not enable Stripe Tax alongside Shoprocket's tax engine. Both will try to calculate tax on the same transaction, the amounts will diverge, and your invoices / order totals / payout reconciliation will all go out of sync. One place handles tax: Shoprocket.
7. Test the integration
Before going live, run test orders. In your Shoprocket dashboard: Settings → Store → Test Mode. Toggle it on.
In test mode your checkout swaps out Stripe (and every other connected gateway) for Shoprocket's built-in test gateway. No real payments go through Stripe while test mode is on. You don't need Stripe test cards; the test gateway simulates successful orders, failed orders, and 3DS challenges so you can verify the full checkout flow.
Run through: add to cart, apply a discount code, complete checkout via the test gateway, check the confirmation page, check the order email, verify the order appears in your Shoprocket dashboard. If anything looks wrong, fix before going live.
8. Go live
Turn off test mode. Run one real transaction yourself with a small amount (refund it afterwards). Check that the money hits your Stripe balance, that the payout schedule makes sense, and that the order email reads correctly.
You're live.
Common gotchas
"Payout failed" on first payout
Stripe requires bank account verification before the first payout. If your account is unverified, Stripe will hold the balance until it's done. Check Settings → Payouts and complete any pending verifications.
Chargebacks aren't the end of the world
Every store gets chargebacks. Stripe's chargeback rate threshold (the level that gets your account flagged) is 1% of transactions in any rolling 120-day window. Most legitimate stores run at 0.1-0.3%. You can dispute chargebacks via Stripe's dashboard; uploading shipping proof + tracking number wins most of them if the claim is "item not received".
Stripe Link / saved cards
If your customer has used Stripe Link anywhere else (Amazon, any Stripe-powered store), they can pay on your store with one tap. Don't disable Link unless you specifically want to; it's a conversion lift.
International payouts
Stripe holds funds in the currency of the customer, converts to your payout currency daily. If your bank account is in USD but your customers are in EUR, you pay a small FX fee on each conversion. This is unavoidable unless you open EUR / GBP / etc. payout accounts with Stripe (they support multi-currency settlement).
When Stripe isn't available
Stripe isn't available in every country. As of 2026: available in ~45 countries as a seller. If you're in one where it's not, Shoprocket also supports PayPal as a primary processor. Check Stripe's coverage first.
What Shoprocket handles for you
Stripe is the payments layer; Shoprocket is everything around it:
- Product catalogue with images, variants, pricing
- Cart state and checkout UX
- Webhook handling (Stripe notifies us of payment events, we update your order status)
- Order emails (customer confirmations, shipping notifications)
- Refund processing (initiated in Shoprocket, flows to Stripe)
- Fraud review if you flag orders manually
<!-- EXAMPLE ONLY. Grab your real snippet from Sales channels → Embeds in your dashboard -->
<script src="https://cdn.shoprocket.io/loader.js" data-pk="pk_yourkey"></script>
<div data-shoprocket="catalog" data-embed-id="emb_xxx"></div>
TL;DR
- Sign up for Stripe (or use existing account)
- Connect it to Shoprocket via OAuth in your dashboard
- Enable payment methods in Stripe (cards, Apple Pay, Google Pay, Link by default; BNPL/PayPal/local methods if relevant)
- Set a clear statement descriptor (cuts chargebacks)
- Enable Radar (leave Stripe Tax off: Shoprocket handles tax)
- Test via Shoprocket's built-in test gateway in test mode
- Go live with a small real transaction to verify
Total setup time: under an hour for a simple store, half a day if you enable everything.
Start a free trial of Shoprocket, 14 days, no card required to try.

Building ecommerce tools for independent sellers since 2013.